Introduction
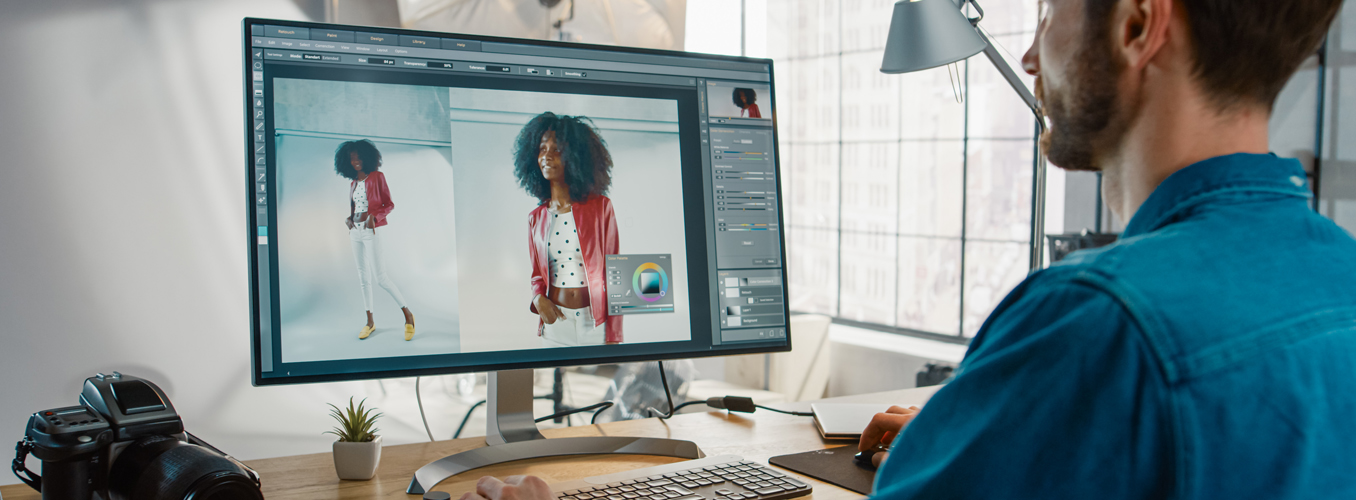
Last month we ran an article about how to create a natural, unedited look for professional photographs. The response was tremendous, with folks writing in to ask us step by step instructions! There were also calls for a follow-up post, and a few enthusiastic souls even requested a running series! Therefore we decided to write another blog on creating unedited looks. However, this one assumes that readers will have at least working knowledge of Adobe Photoshop. For sure other software like GIMP and Lightroom (which we also love) can achieve the same effects, but since most professional editors use Photoshop that’s what we’ll talk about here. Lets examine the Raw & Real: How to create the Unedited look for 2023.
AI for Photo Editors
Adobe has been embedding its powerful AI engine that it calls “Sensei” into its most popular applications including Photoshop for years. This year Photoshop began featuring powerful new AI-enabled capabilities that can help editors create a variety of looks, including a natural look much more easily. Here is a look at three such features, and how to use them effectively:
-
Neural Filters:
Neural Filters is a new workspace inside Photoshop. There are a number of new and useful non-destructive filters. We use them for restorative, as well as Artistic work. For example, skin smoothening is a few clicks, as are hair coloring, and our favorite- adding facial expressions! For example, Skin Smoothening can be done with a non-destructive mask, along with a helpful slider. The trick to getting the right look is to err on the side of caution. Rather than rushing to remove every wrinkle and blemish, ask yourself if the imperfection in question humanizes the image. So go ahead and take out those pesky wrinkles from clothes, but leave the crow’s feet around the model’s eyes. Remove wayward hair, but leave the freckles!
To use Neural Filters, go to Filter > Neural Filters and choose from the available filters on the right panel. You can adjust the settings and see a live preview of the effect on your photo. Some of the filters are still in beta quality, so you may need to refine the results with other tools.
-
Sky Replacement:
Sky Replacement is a new feature that uses AI to apply a mask on the sky to separate it from the background. Plus, it automates a lot of the work to change hue, saturate color etc. and instead lets artists focus on the mood they want to create, whether it is a blue-hued, foggy look to create mystery, or a beautiful summer day with an orange sun to signify joy and excitement. We seriously use this feature a LOT, and our artists call it a real lifesaver. We think this is the way the software will continue to progress going forward- automate the technical steps and free up artists to decide on the creativity.
To use Sky Replacement, go to Edit > Sky Replacement. Select one of the presets, upload a proprietary image, or create one. The software automatically adjusts the colors and lighting as required. If you prefer manual adjustment, focus on the edge shift as much as you would on the brightness and temperature. That will ensure the sky feels open and vast, not claustrophobic.
-
Color Transfer Filter:
Color Transfer is one of the many types of new neural filters in Photoshop, but deserves special mention because of the context of this article. Other neural filters like Skin Smoothening are pretty procedural. Color Transfer is different. It works by examining a reference image, and applying its color values to the new image. This helps graphic artists explore different ways to change the mood and look of a photograph to make it more realistic. Furthermore, once they achieve the “perfect natural” look, artists can save the settings and apply them across a whole series of pictures to get a consistent realistic look, as if the entire series was shot at the same time in the same location. Plus, it is a “non-destructive” filter, meaning it is always possible to remove the filter and revert to the original image. Color Transfer has a simple interface with a slider, so it is easy to start using right away.
To use Color Transfer Filter, go to Filter > Neural Filters and select Color Transfer from the Featured Filters section. In the Color Transfer panel, choose a preset style, or create a custom style from a reference image. Finally, use the Style Strength, Brush Size and Blur Background sliders to refine the image.
There you have it! Three easy tools in Photoshop to get you started to create stunning natural looks quickly! Let us know how feedback, and write to us if you want us to create more content about natural looks or AI features in Photoshop or in general. Happy Editing!


